
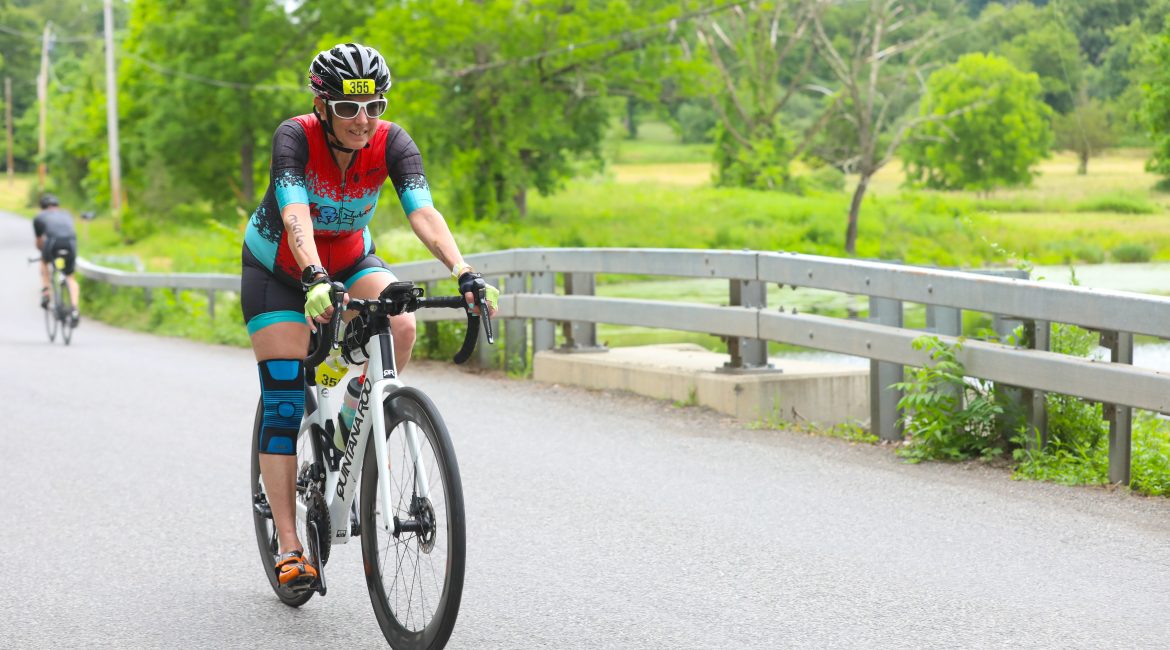
Let’s be real: sometimes you look out the window, see the grey clouds, and think about canceling your ride. But we both know that once you get out there, riding in the rain can actually be kind of fun. It makes you feel tough, gritty, and accomplished. Plus, if you only rode when it was sunny and 75 degrees, you’d miss out on half the year.
However, water is basically kryptonite for your bike’s mechanical parts. If you don’t take care of your machine after a wet ride, you’ll pay for it later with rusty chains and seized bolts.
Here is my guide to handling a rainy ride and, more importantly, exactly what to do the second you get home to save your bike.
Gear Up Before You Roll Out
Before we talk about the cleanup, let’s talk about the ride itself. You can’t control the weather, but you can control your gear. Being miserable on the bike is usually just a result of bad clothing choices.
Waterproof Everything (Almost)
The most important thing is keeping your core dry. A good rain jacket is non-negotiable. But don’t forget your extremities. Wet hands and feet go numb fast. Invest in waterproof shoe covers (overshoes) and gloves that can handle the moisture.
Light It Up
Rain means dark skies and reduced visibility for drivers. Even if it’s midday, run your lights. Put them in flashing mode to grab attention.
The After-Ride Protocol: Saving Your Machine
Okay, you did it. You braved the elements, smashed some puddles, and now you’re back home. You are probably cold and thinking about a hot shower.
Stop. Do not go inside yet.
Your bike needs you right now. Leaving a wet bike in the garage is a recipe for disaster. Here is my routine for post-rain maintenance.
1. The Upside-Down Trick
This is a tip a lot of people miss. After a heavy rain, water can pool in your frame tubes. Flip your bike upside down.
Why? Gravity. Water tends to collect in the seat tube or bottom bracket shell. Turning it over helps encourage that water to escape.
2. Check the Drainage Hole
Speaking of water getting out, does your bike have a way for it to escape? Most modern bikes have a tiny drainage hole drilled into the bottom of the bottom bracket shell (the lowest point of the frame).
Make sure this hole isn’t clogged with mud or road gunk. If it is, the water sits in there and slowly destroys your bottom bracket bearings. A quick poke with a paperclip or a small hex key usually clears it right out.
3. The Wipe Down
You don’t need to do a full wash every time (though it helps), but you absolutely need to do a wipe-down. Rainwater isn’t just water; it’s mixed with oil, grit, and road salt. This mixture acts like sandpaper on your frame and components.
Grab an old towel or rag and wipe down:
- The frame
- The braking surfaces (rims or rotors)
- The chain
- The derailleur pulleys
Get the bulk of the moisture and grit off immediately.
4. Lube is Life
This is the most critical step. Rain washes away your chain lube. If you put your bike away wet and unlubed, your chain will likely be orange with surface rust by the next morning.
- Dry the chain: Run the chain through a dry rag until it feels relatively dry.
- Apply Lube: Apply a fresh coat of chain lube. Don’t forget to put a drop on the pivot points of your derailleurs and even the crank area if needed.
- Wipe again: After letting the lube sit for a few minutes, wipe off the excess.
5. Inspect Your Brakes
Wet weather eats brake pads. Road grit can get stuck in the pads and grind away at your rims or rotors much faster than in dry conditions. Give your brake pads a quick glance. If they look packed with grit, pick it out. If they are worn thin, order replacements now before you ruin your rotors.
And what to do next…
Riding in the rain requires a little more effort, both during and after the ride. But the reward is building mental toughness and keeping your fitness up when everyone else is sitting on the couch.
Just remember: take care of your bike, and it will take care of you. A five-minute cleanup routine saves you hundreds of dollars in repairs down the road.
Now, go take that hot shower. You earned it. 🙂